


Correcting Fitting Issues on the X300U-A
One of the most common complaints we hear with the X300U-A is fitting issues or excessive “wiggle room” when on the gun. Luckily there’s an easy fix for this! If you’re curious about the differences between the X300U-A and the X300U-B models, we have a side by side comparison article that you can read HERE. If you’re missing just one or two pieces, we’re offering to replace some for FREE. Request the parts you need HERE. If you need a complete replacement kit, we have the Surefire Z89 Kits HERE.
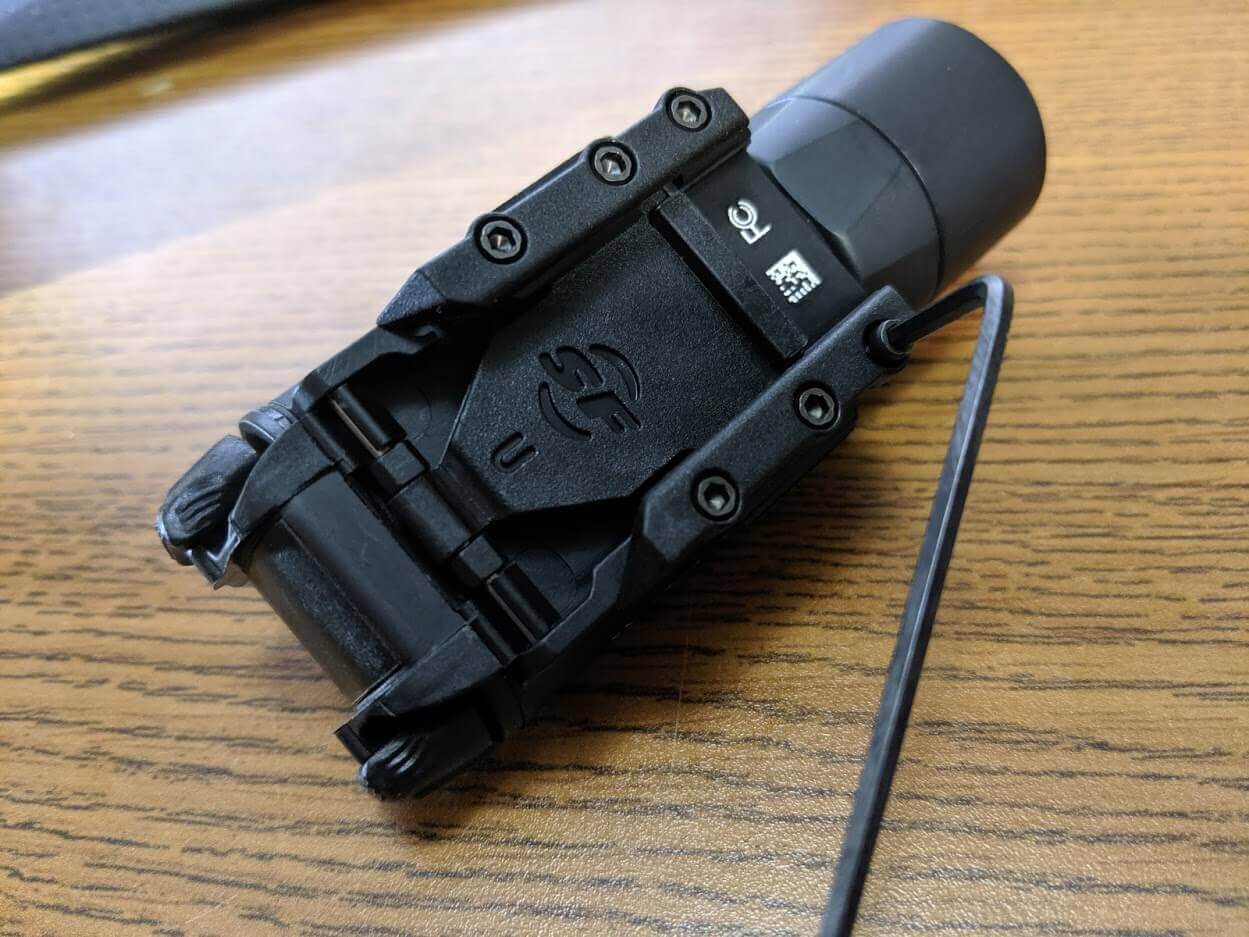
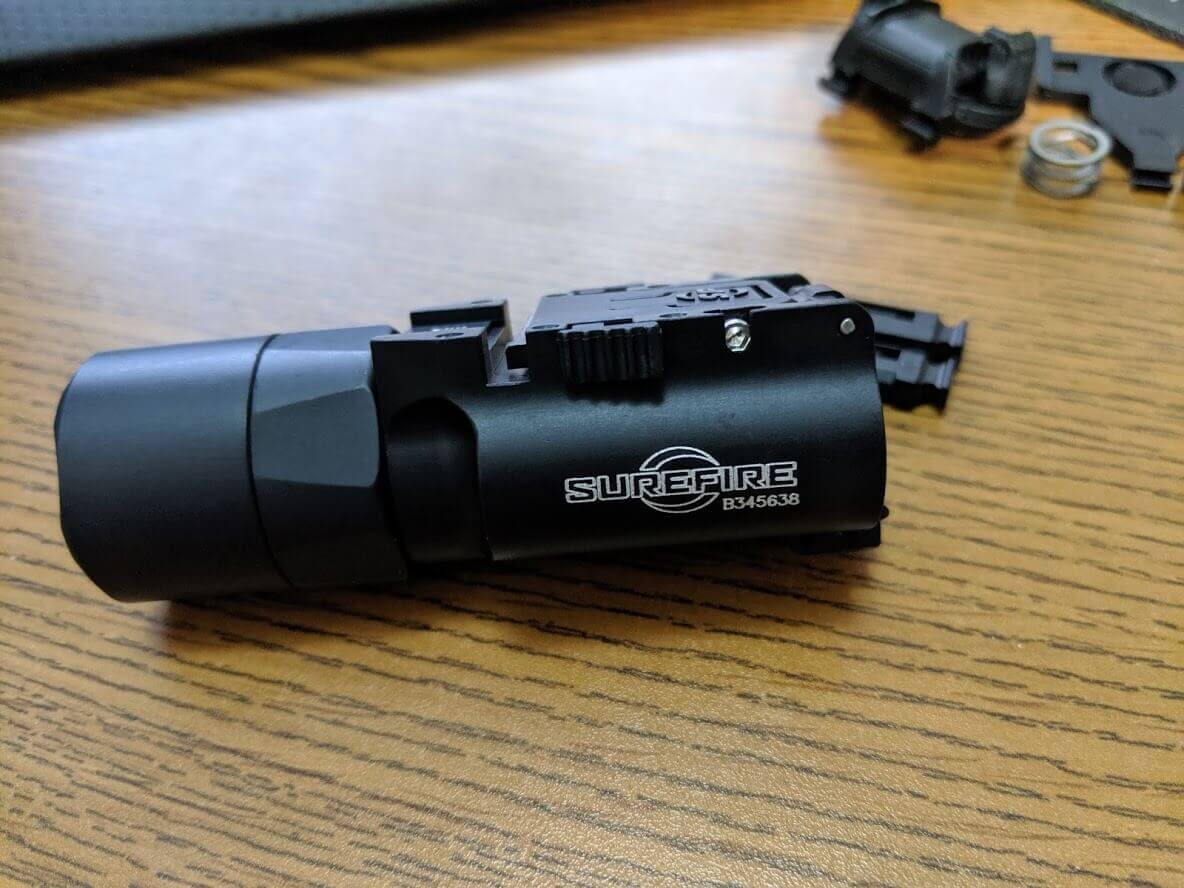
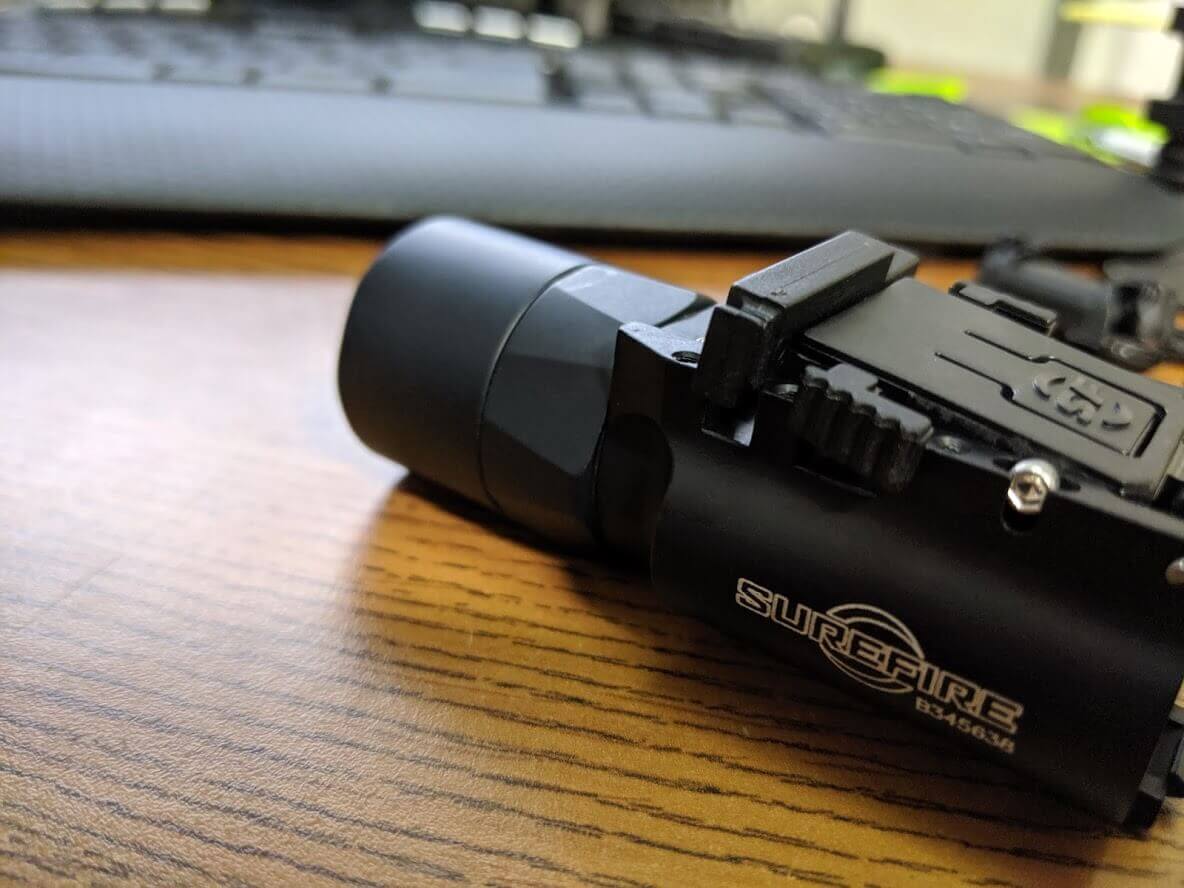
First start by removing the 6 screws with the provided wrench. Sometimes fit issues can be resolved just by tightening these ¼-½ a turn so it may be worthwhile to try that first. If that doesn’t fix the issue, just continue on to the next steps.
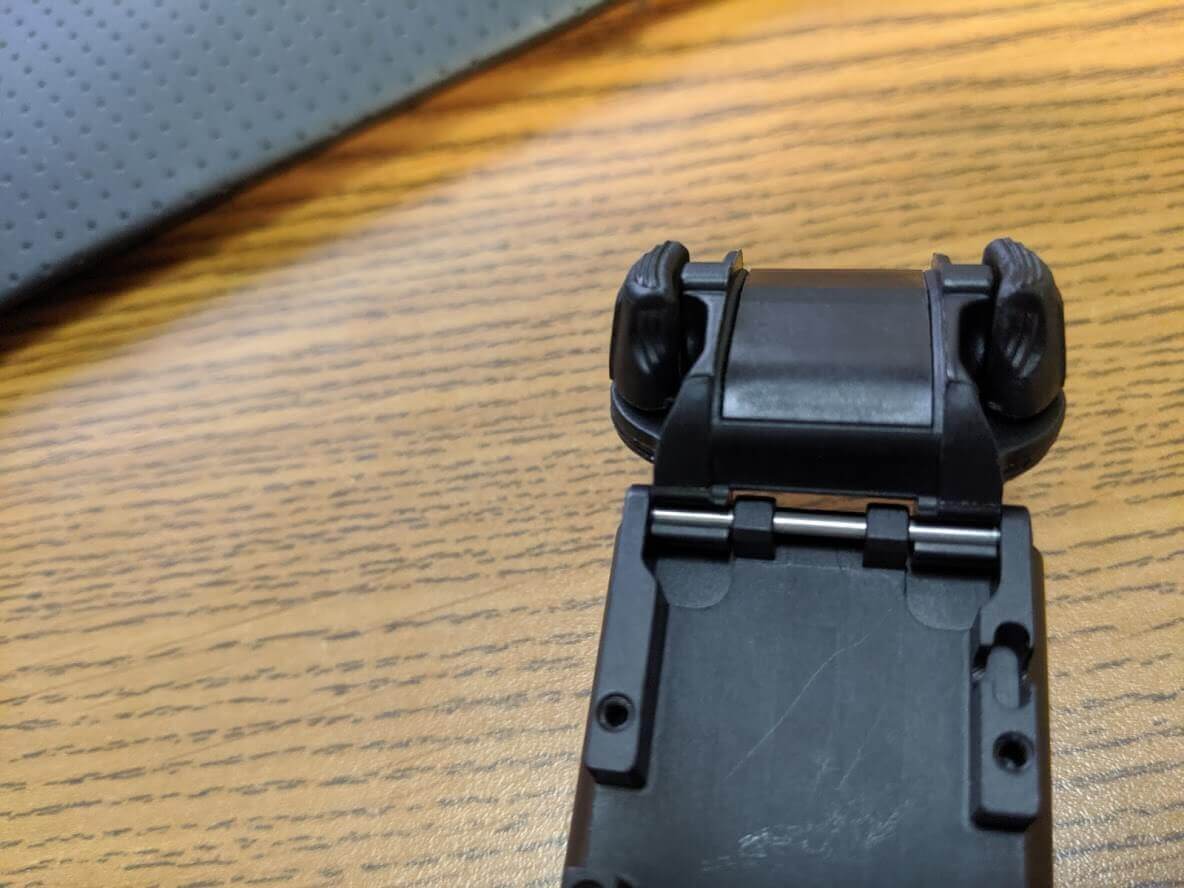
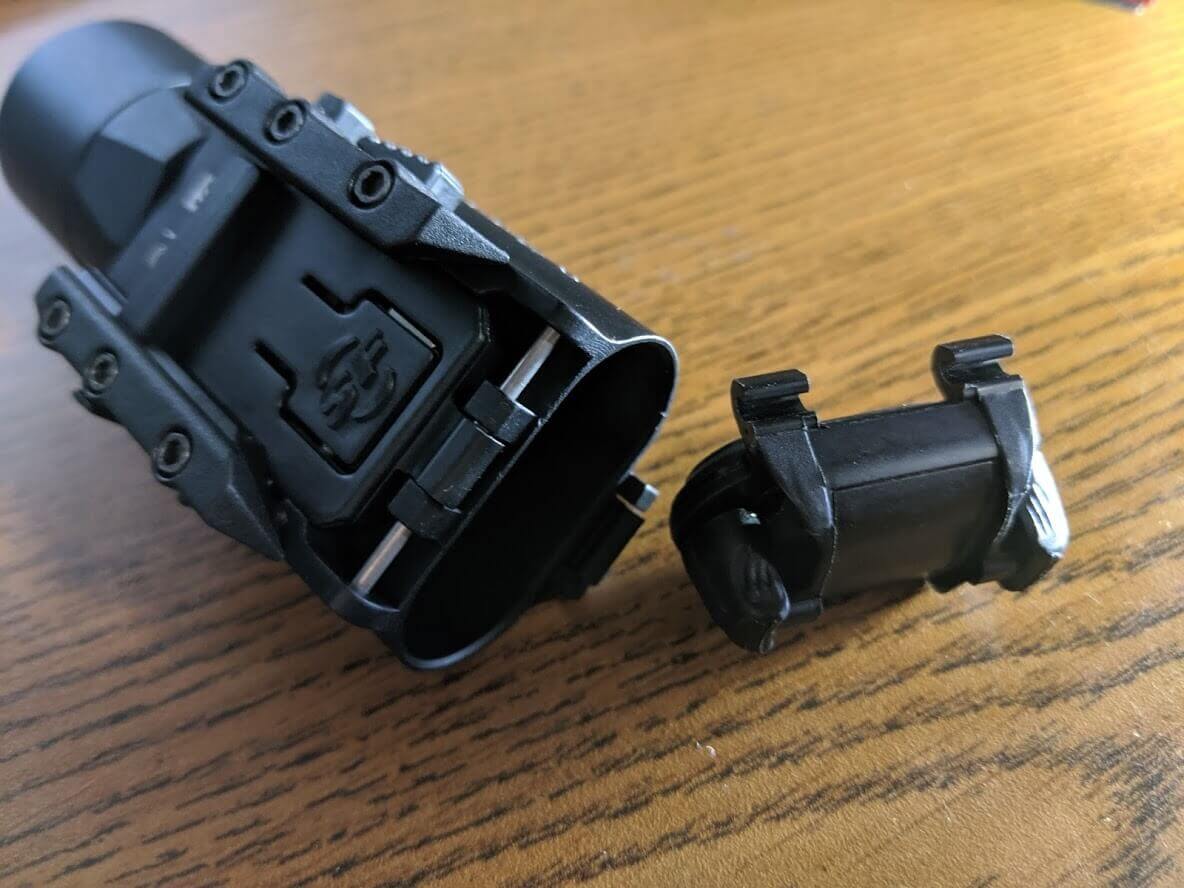
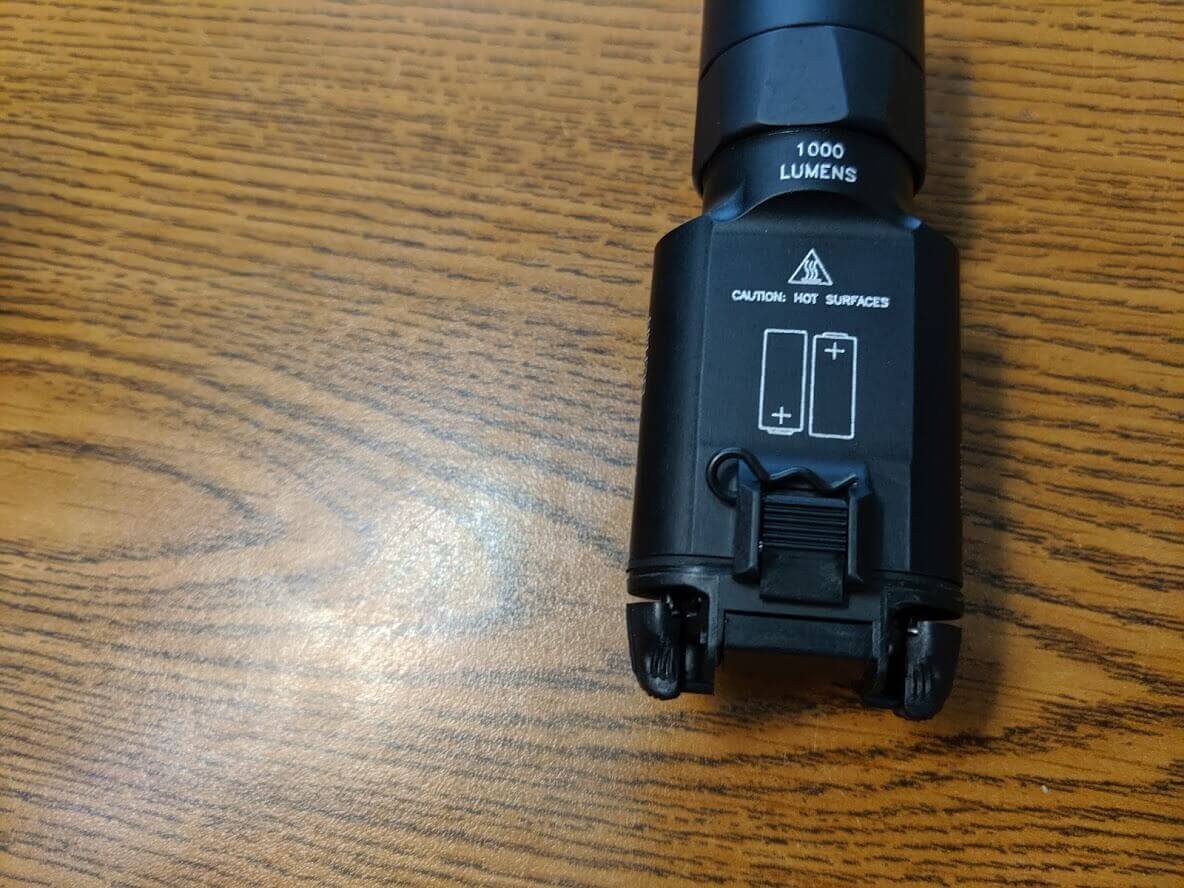
I prefer to remove the battery door while working on the light. It’s not needed so you can leave it on if you want to. The door just pops on and off.
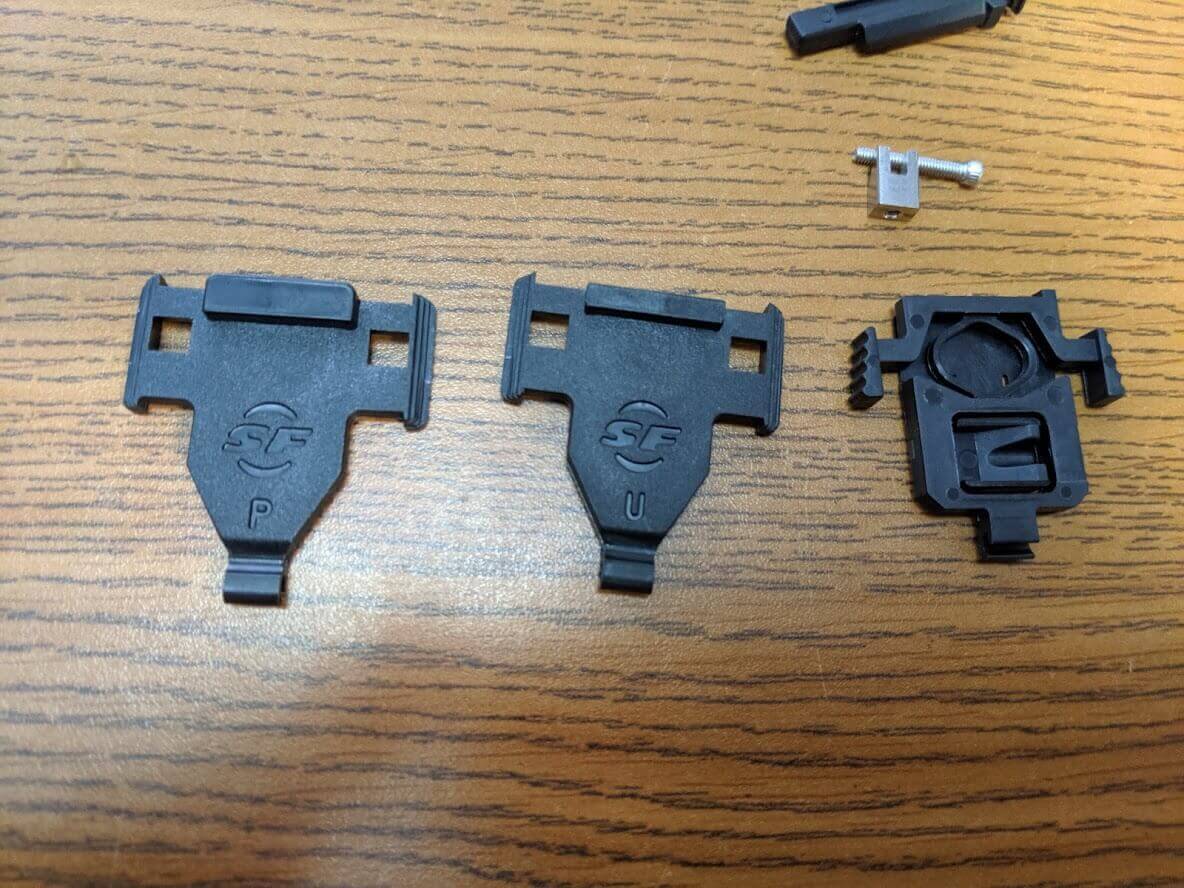
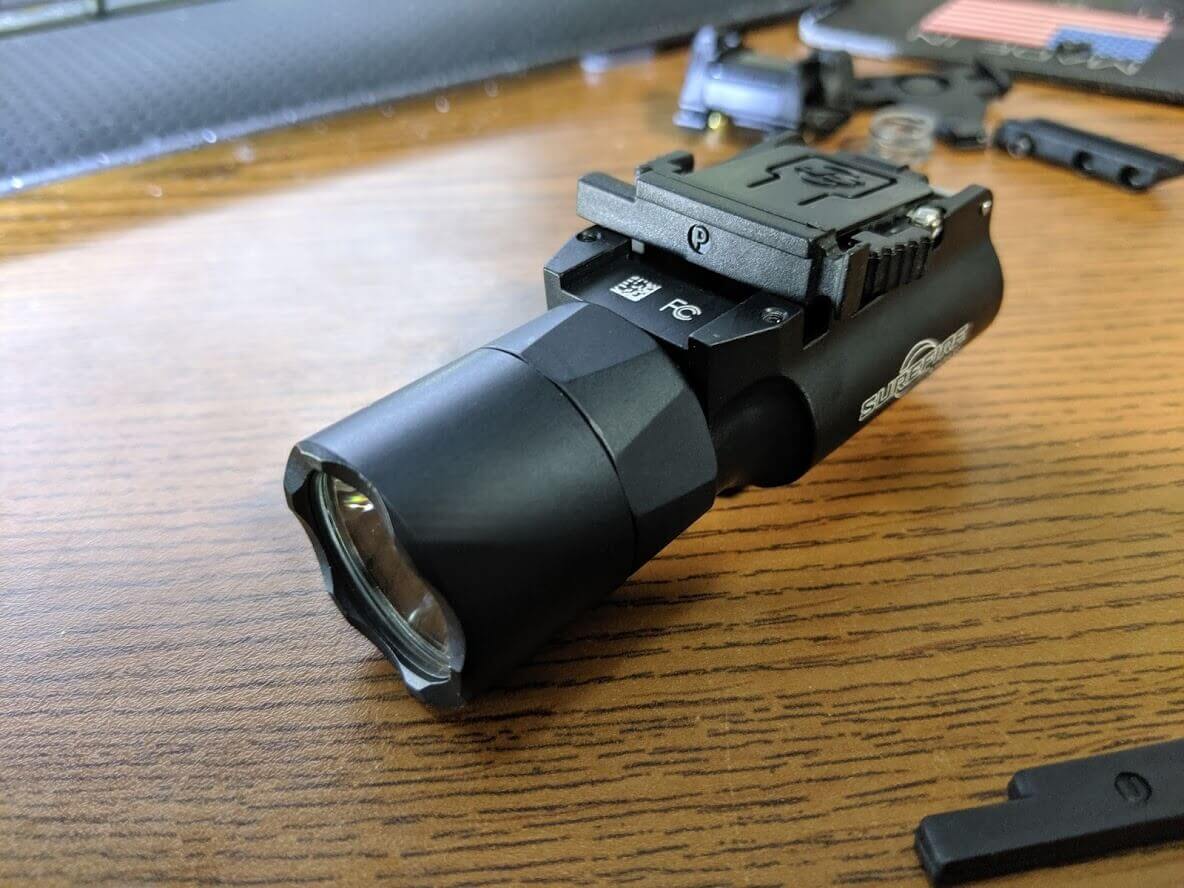
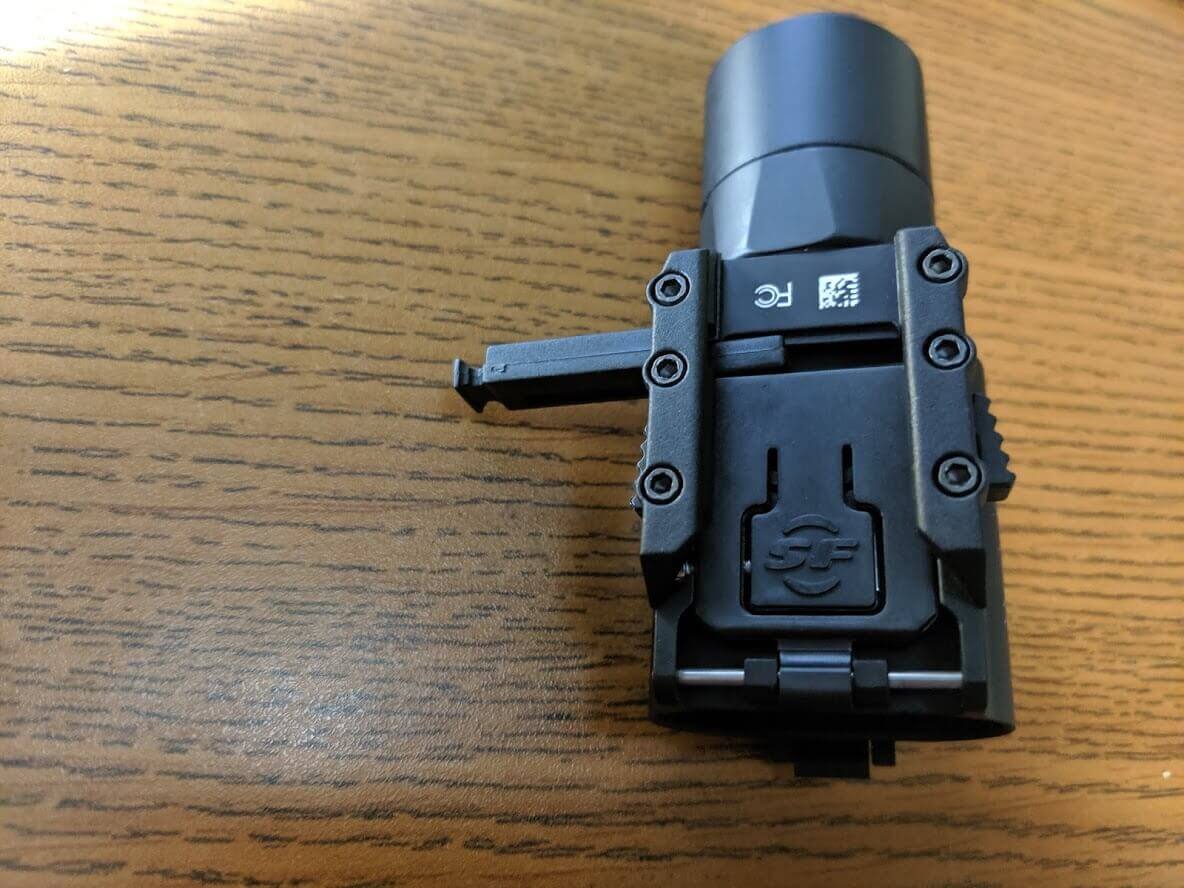
Your X300U-A should come with several pieces in the package. The Universal Mount (marked “U”, pictured center) is usually pre-installed and works well with most pistols. There is also a Picatinny Mount (marked “P”, pictured left) which can be used on handguns or handguards that have a picatinny rail. There is also the Rail Lock (pictured right) which can be used on nearly everything and will give you the tightest fit. The Rail Lock is also adjustable so you can dial it in to get the perfect amount of tension.
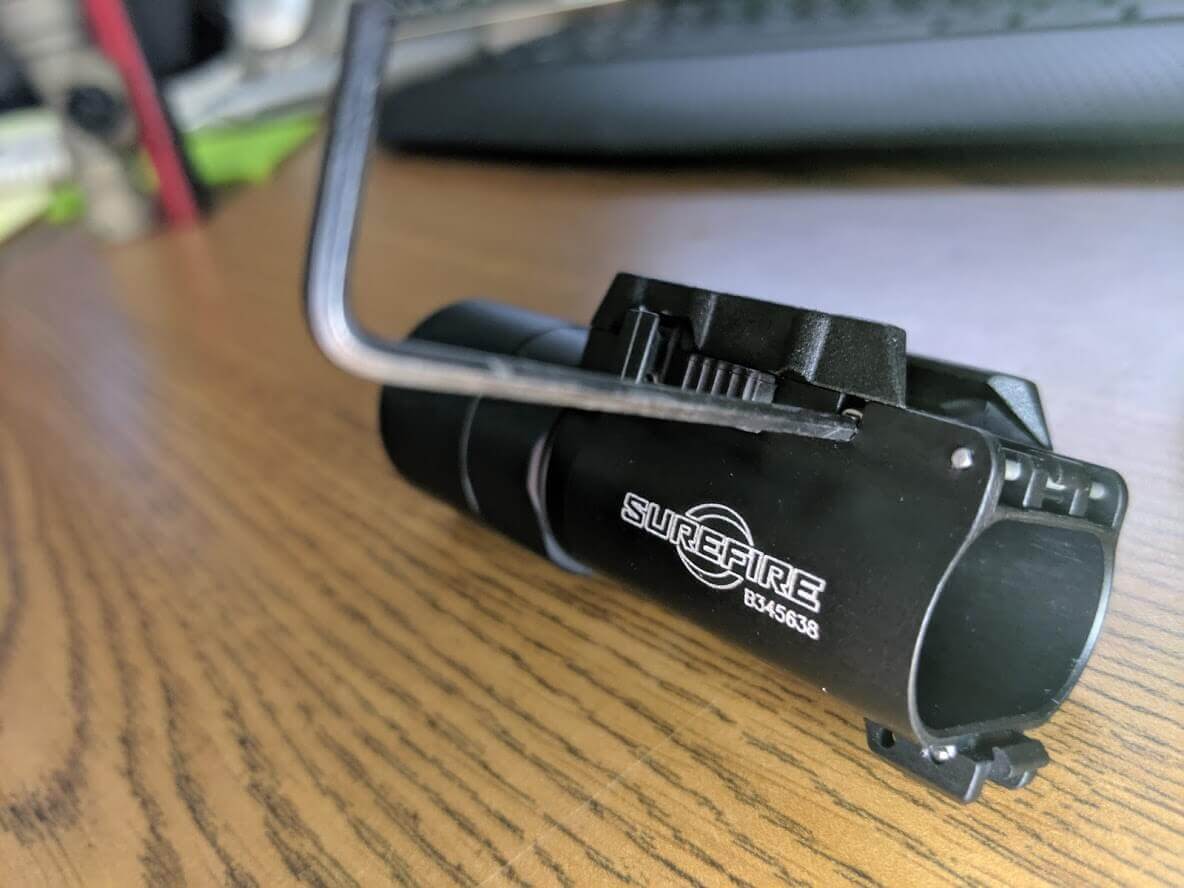
Start by laying the rail lock flat on the desk as shown. Inset the small silver wedge and start to thread the screw in through the side.
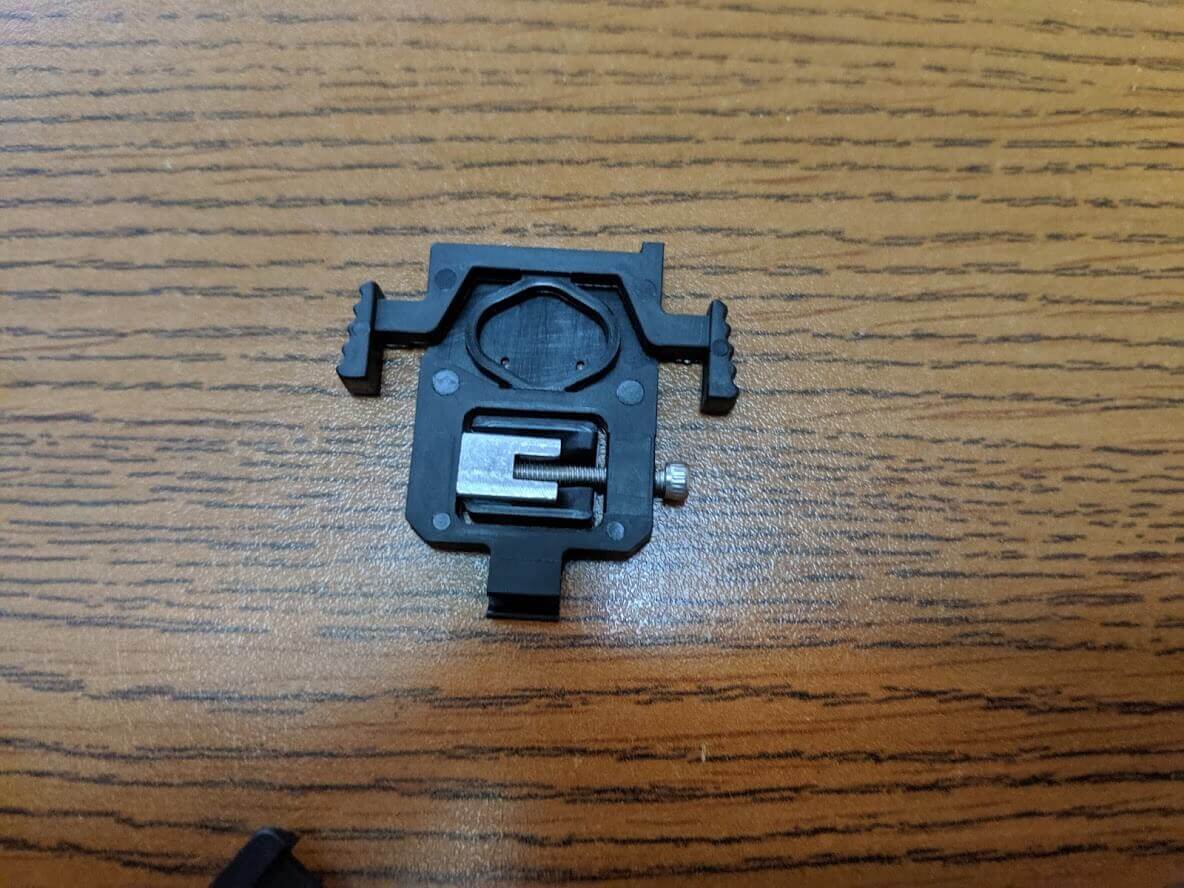
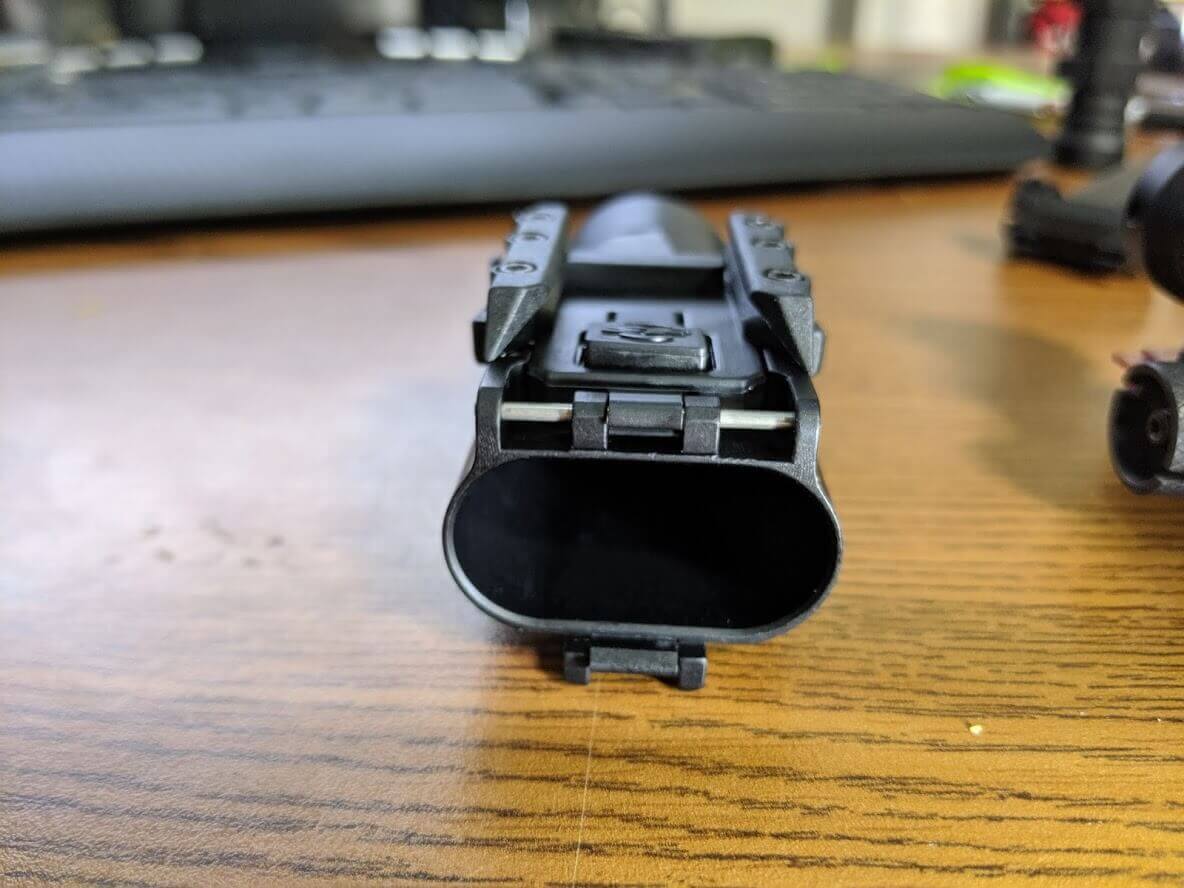
Next, lay the assembly down on the body of the light as shown. You’ll notice the screw fits into a slot on the side of the light.
Also in the package are two cross sections marked “P” & “U”. For picatinny rails, use the “P” and for everything else, use the “U”.
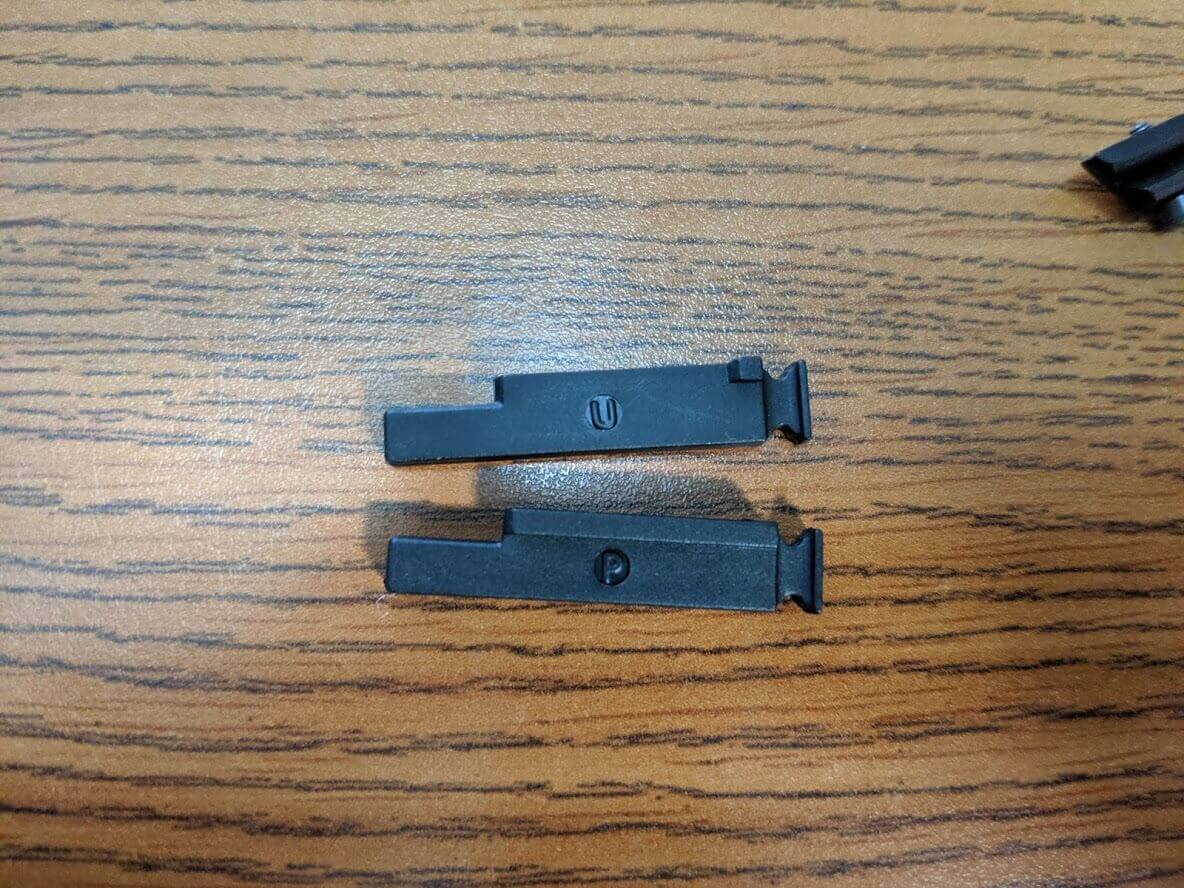
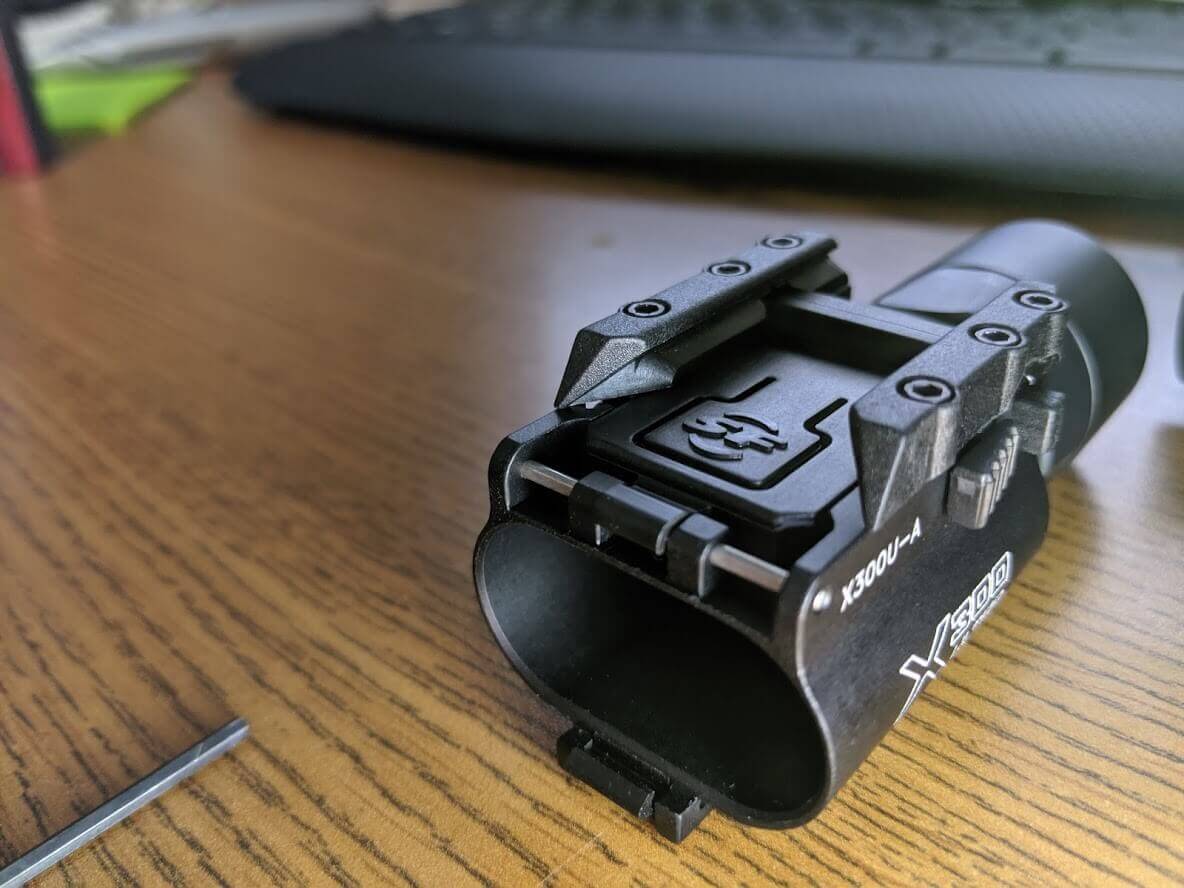
You will install this on the front of the light body as shown. You will probably need to slightly raise the rail lock mount assembly installed earlier in order to get it to line up properly.
Here is what it should look like when installed properly.
Next, install the rails with the 6 screws. Make sure not to over tighten so the cross bolt can be moved back and forth. Make sure the rails are oriented in the correct direction as well. Get them snug, but not excessively tight. You’ll notice that one of them has a cutout for the cross bolt.
Once the screws are tightened you can replace the battery door and slide the light onto the rail. When it’s on the gun, slide the cross bolt back over, through the rail slot on the gun and it will click into place. Now, with the light on the gun, you can tighten the small silver screw on the side.
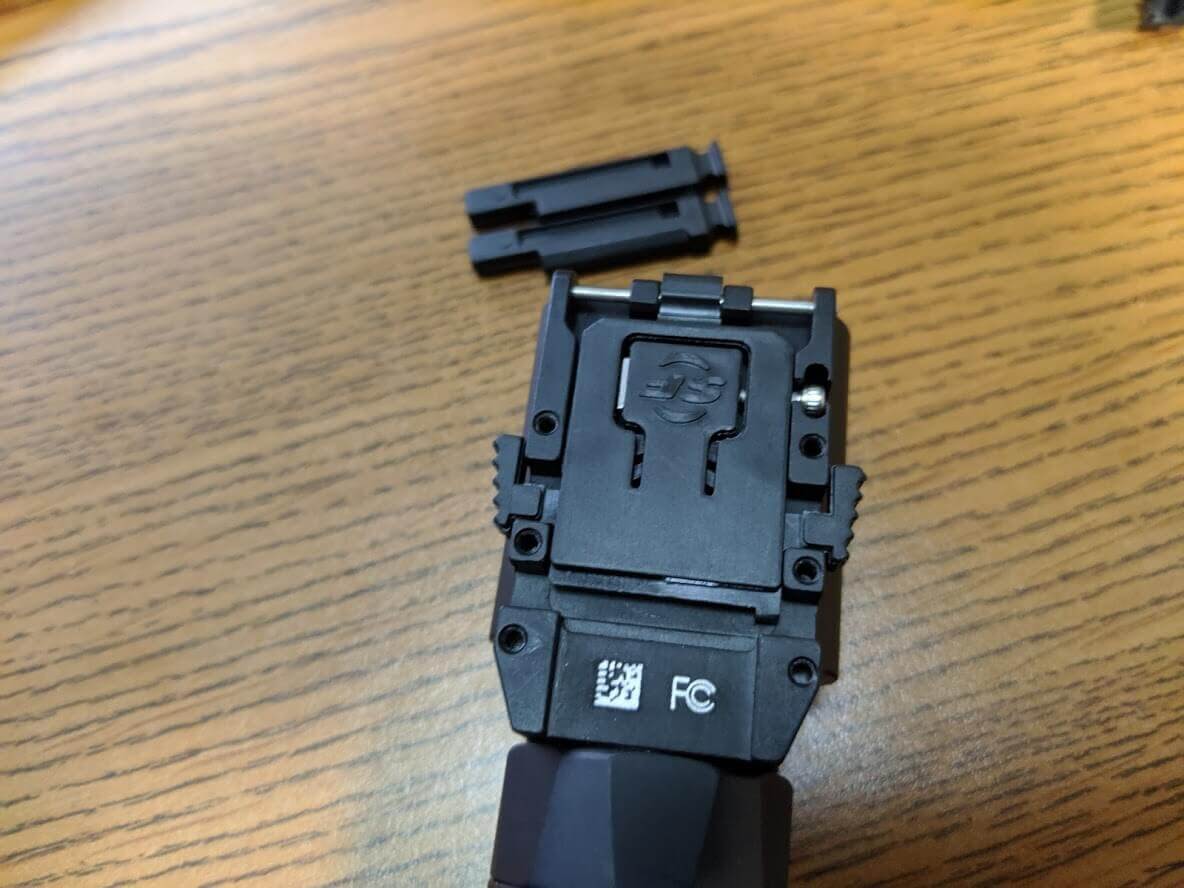
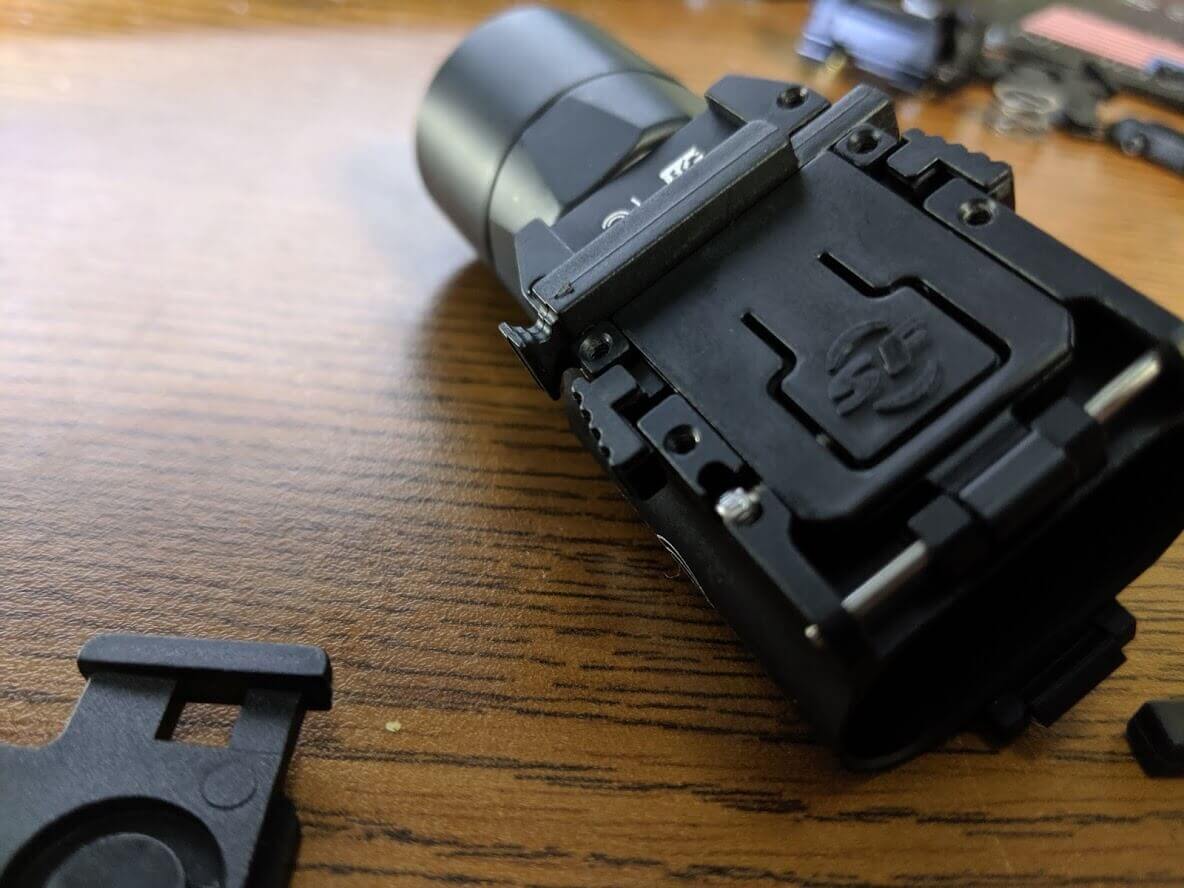
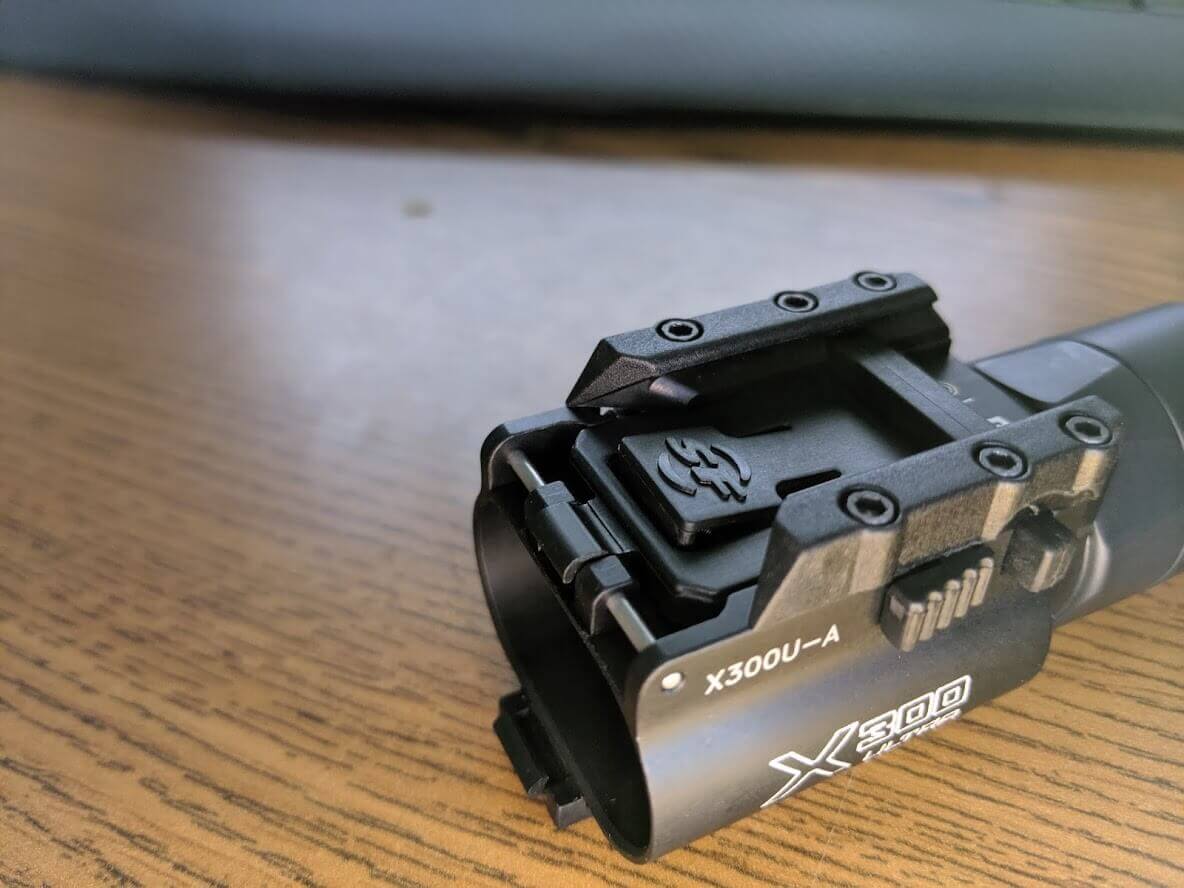
Looking at the picture below you can see the tab on the rail lock with the SF logo is flush with the mount.
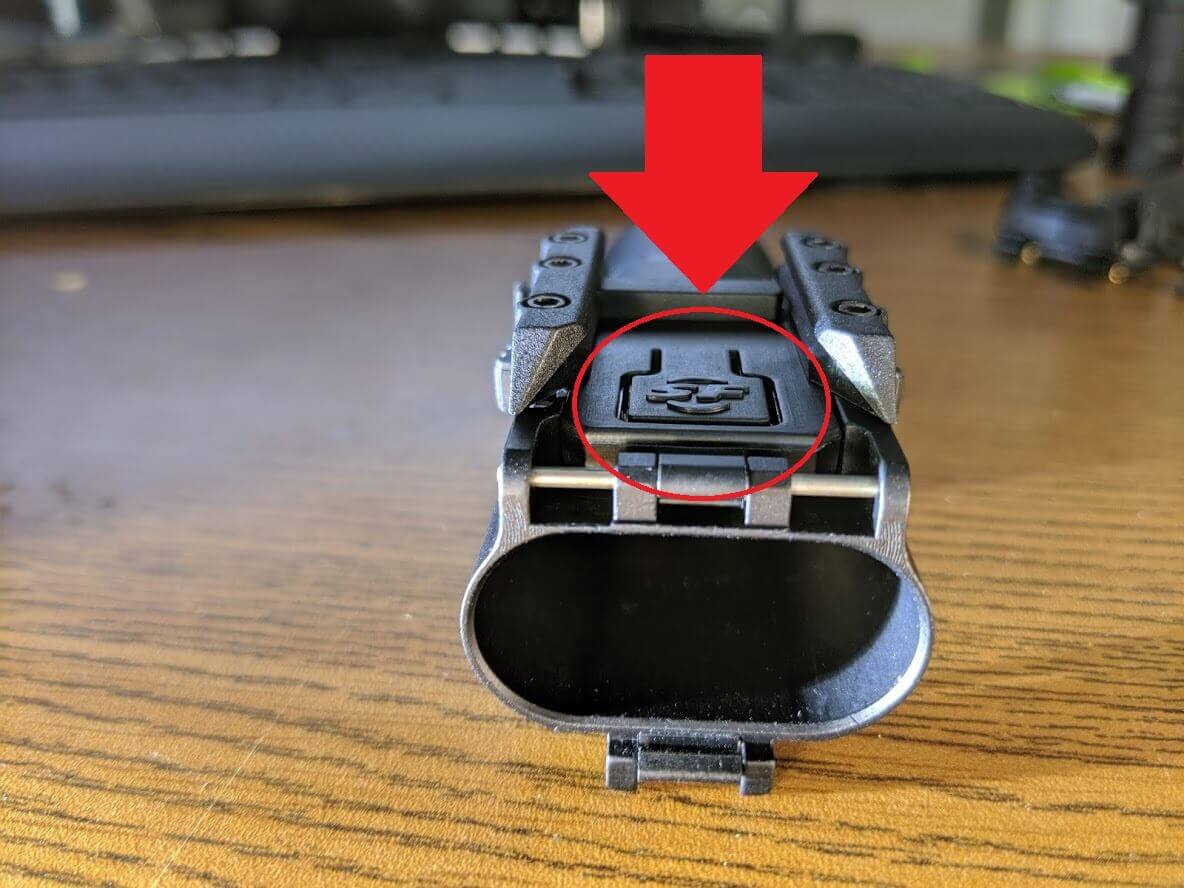
By tightening the screw you are forcing that tab upwards which applies pressure on the host firearm or rail. This will help eliminate any play or wiggle with the light.
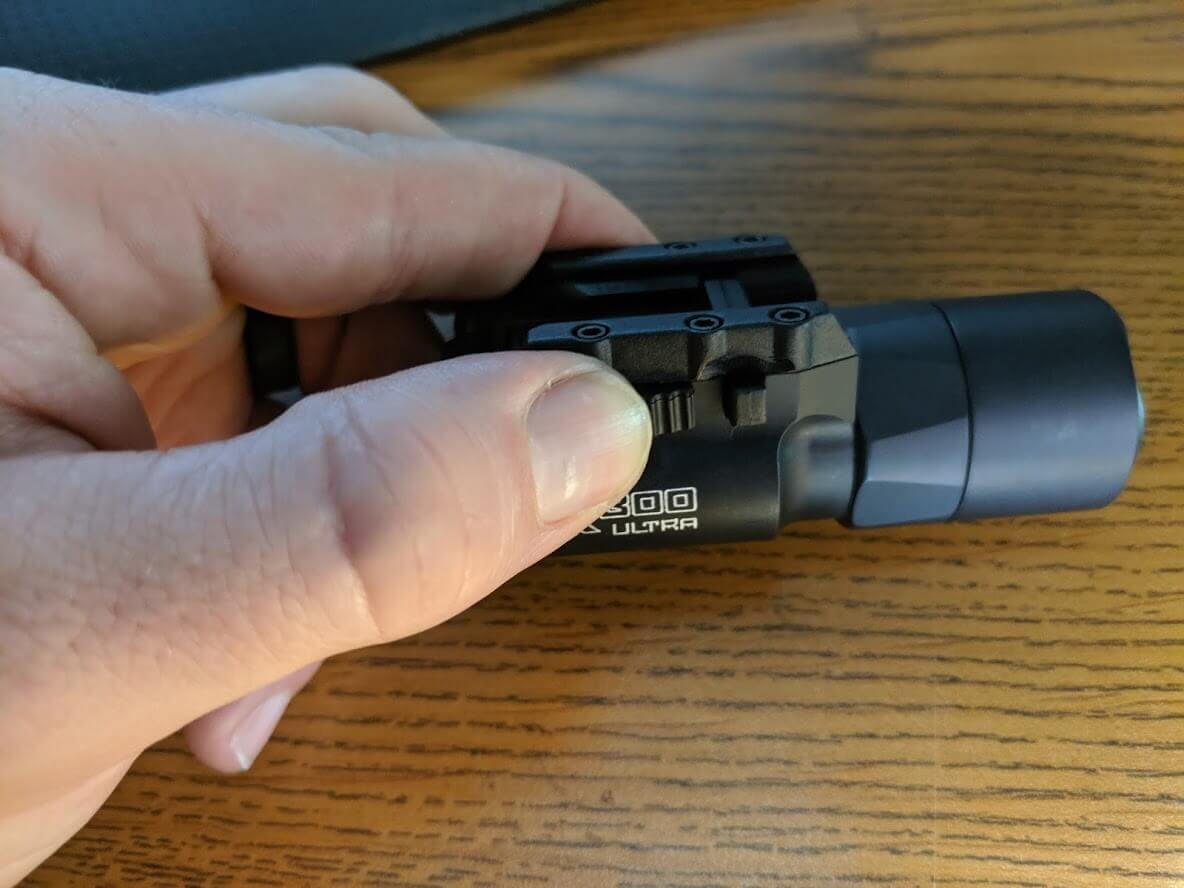
With the light on the gun, tighten the screw until it’s snug and you’re all set! If you’re mounting this on an AR or other handguard where the battery door won’t be resting against anything, you can use the provided pin to keep the battery door shut.
To remove the light from the gun, start by unscrewing the silver screw on the side. Next, squeeze the tabs on the side to relieve pressure from the crossbolt. Slide the crossbolt our (it won’t come all the way out) and now you can remove the light from the firearm.
If you have any questions or comments, feel free to drop them below. We also carry the full line of Surefire lights.

Surefire CR123A Batteries

The Surefire XT07 Tape Switch for X300U-A/B lights

The Surefire X300U-B
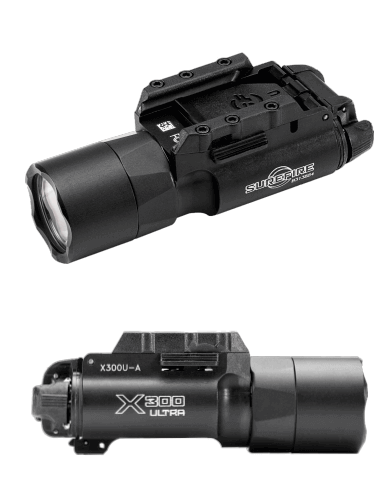
The Surefire X300U-A
I have the surefire x300 that came with the u but not the p like u have in the 4th picture really trying to find it for my sig p320
Hey I was wondering if you have any idea where I can get the Picatinny Mount rail lock and screw thank you in advance
This was very helpful. Thank you for taking the time to post this!
Thanks for the tutorial. The pics helps. I installed on a gen 5 g19 MOS. There is no wiggle or slop but since I tightened that silver screw a bit the light seems canted a bit. Pointed up a bit compared to the barrel. Is that normal?
Same thing on my XDM Elite OSP and Glock 19C. Its not as bad on the Glock. Additionally my sight veers off to the right even though the light body appears to be aiming left which is confirmed by looking at the light by the trigger guard and seeing its off.
See my other comment. Remove the spacer on the back of your light and it will mount more easily on a G19.
I had the same problem on my G19.3 and it actually warped the frame a bit after being mounted for a few weeks, which is super annoying, but some Google searching says it shouldn’t affect function.
Here’s the fix, which should be in the manual but isn’t: there is a spacer on the back of the battery compartment, tap the pins out to remove the spacer, and the light can mount slightly further back. If the light hasn’t already bent your frame, this should remove the cant.
Hey my little silver machine screw for the tension set broke , any ideas what size or where to get more
Hey Adam,
We can send you one for free. Just email us: CustomerService@BigTexOutdoors.com with your address and we’ll send it out.